
Connecting a Charger to a Site
Proper configuration and registration of a charger are essential steps to bring it online and visible in the eMabler platform. Following these steps ensures your chargers connect reliably via OCPP, appear correctly in the platform, and are ready for remote monitoring and management.
1. Configure the Charger
Use the charger’s local configuration tool to set the appropriate OCPP communication URL:
Environment | OCPP Version | URL |
|---|---|---|
TEST | OCPP 1.6 |
|
OCPP 2.0.1 |
| |
PROD | OCPP 1.6 |
|
OCPP 2.0.1 |
|
Ensure the charger is connected to the internet.
Set or note the OCPP ID – this must match the ID entered in the eMabler UI.
2. Register Charger via eMabler UI
Navigate to the desired site in the eMabler platform.
Select ‘Charger’ from the overview Screen and then click "Add".
Fill in the required details:
Charger Name: Descriptive name for identification.
Charger ID: This must match the OCPP ID set on the charger.
Site : Select the site to associate the charger.
Click "Create".
Once saved, the charger appears in the Chargers list, and you can view and manage its details.
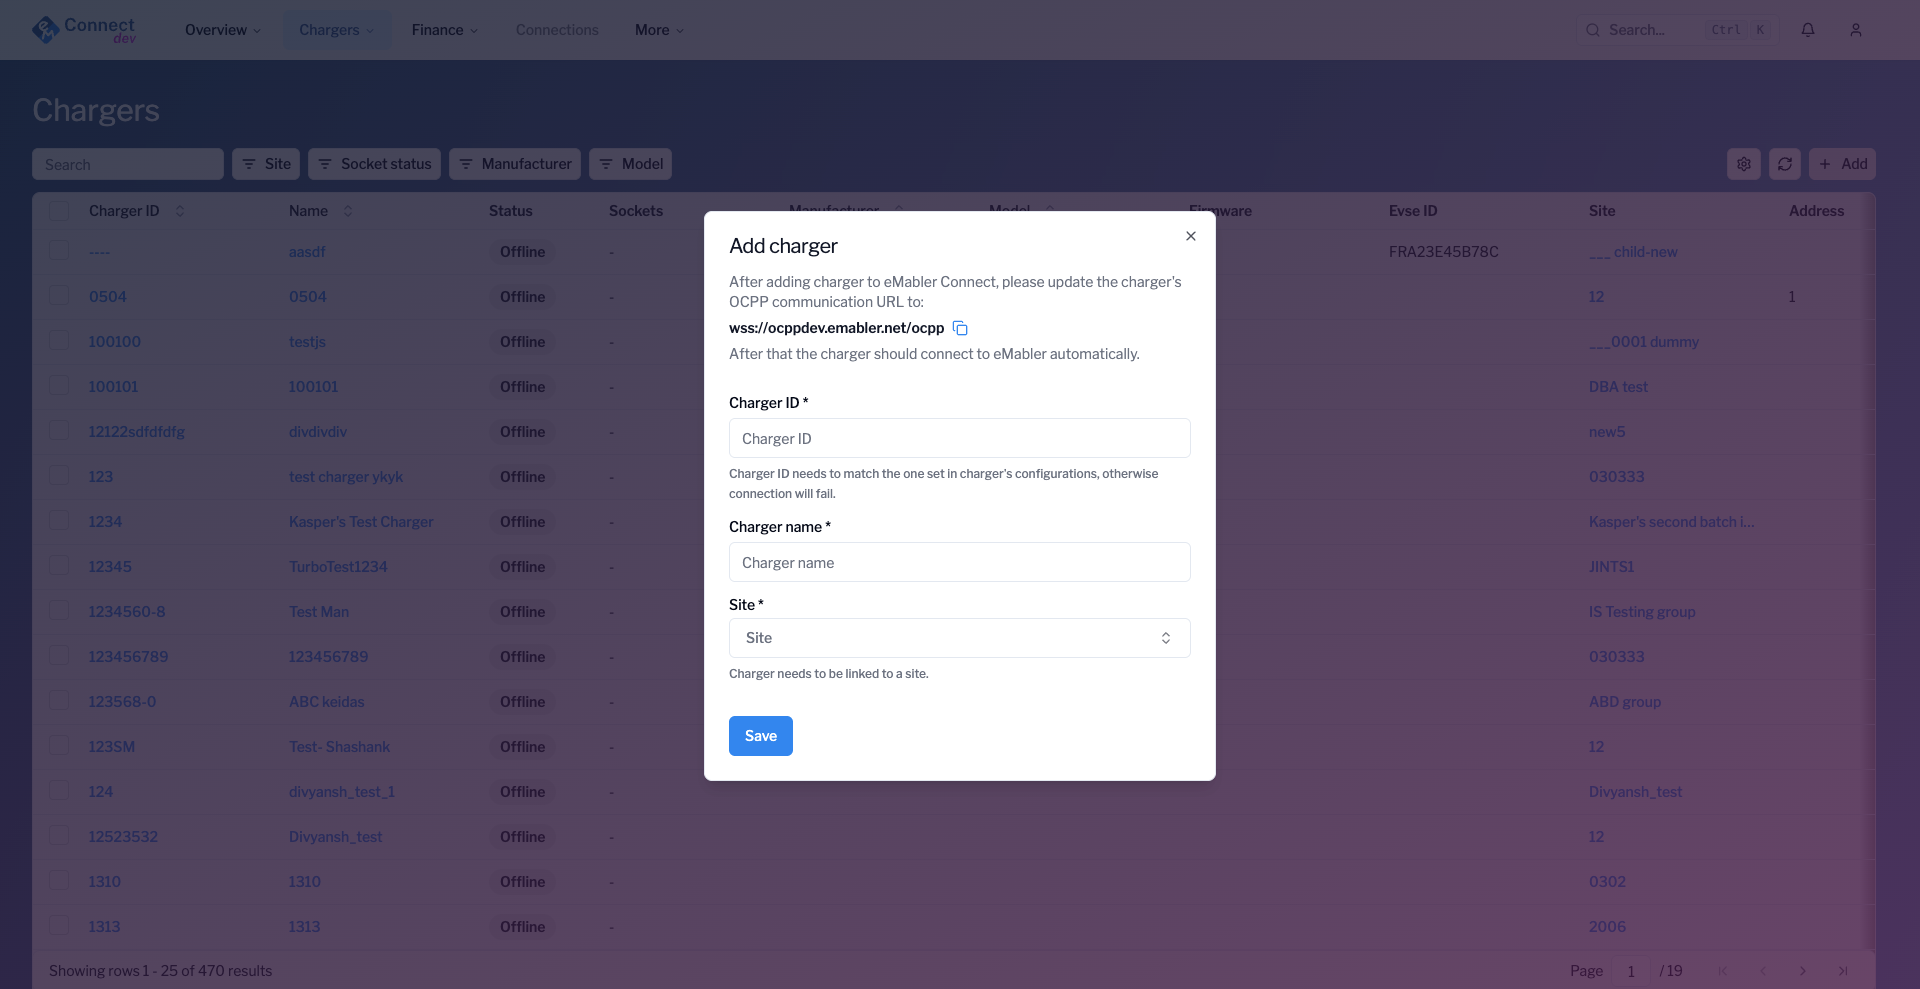
Img. Add charger
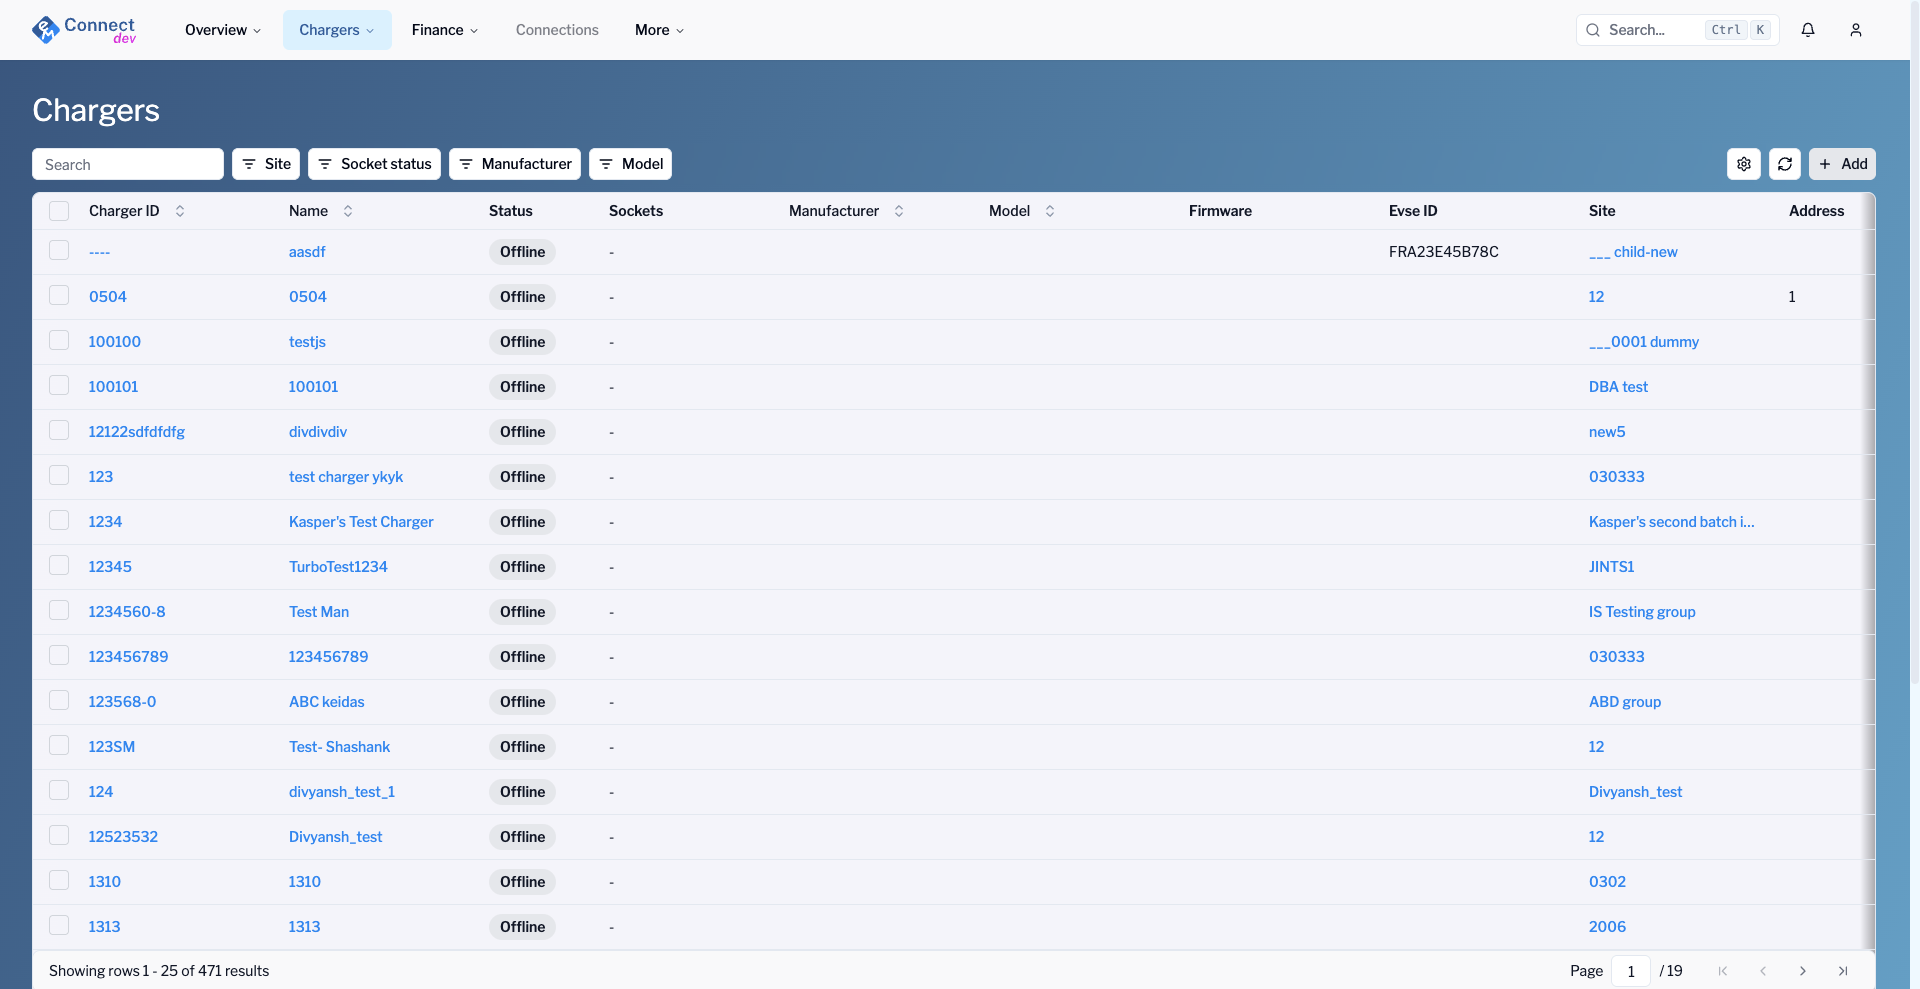
Img. Chargers list
By configuring the correct OCPP settings, you guarantee that your chargers can securely communicate with the eMabler Charger Management System for real-time data and control.